How to educate yourself about Winter Backcountry safety?
It’s a fact, more and more people are adventuring in the mountains during winter. In addition to the local ski resorts being overcrowded, other winter activities such as snowshoeing are becoming increasingly popular.
While I love seeing more people enjoying the wonder of our beautiful nature, it’s also very painful and heartbreaking to read the news every week and see dramatic incidents happening to (mostly) unprepared adventurers.
If you have been following the local news you probably know that Search & Rescue are busier than ever… The least we can do is to educate ourselves and others to help them!
I don’t consider myself an expert in the winter backcountry, far from it. But I’ve learned a few things in the past few years that made me understand some mistakes I might have made - and I work hard on not repeating them. I’ve been lucky enough to never get into trouble but I also know that it could have been a completely different story: you don’t have to be an extreme adrenaline-driven backcountry skier to put yourself in a very dangerous situation, you can easily kill yourself the minute you leave the parking lot without even knowing it.
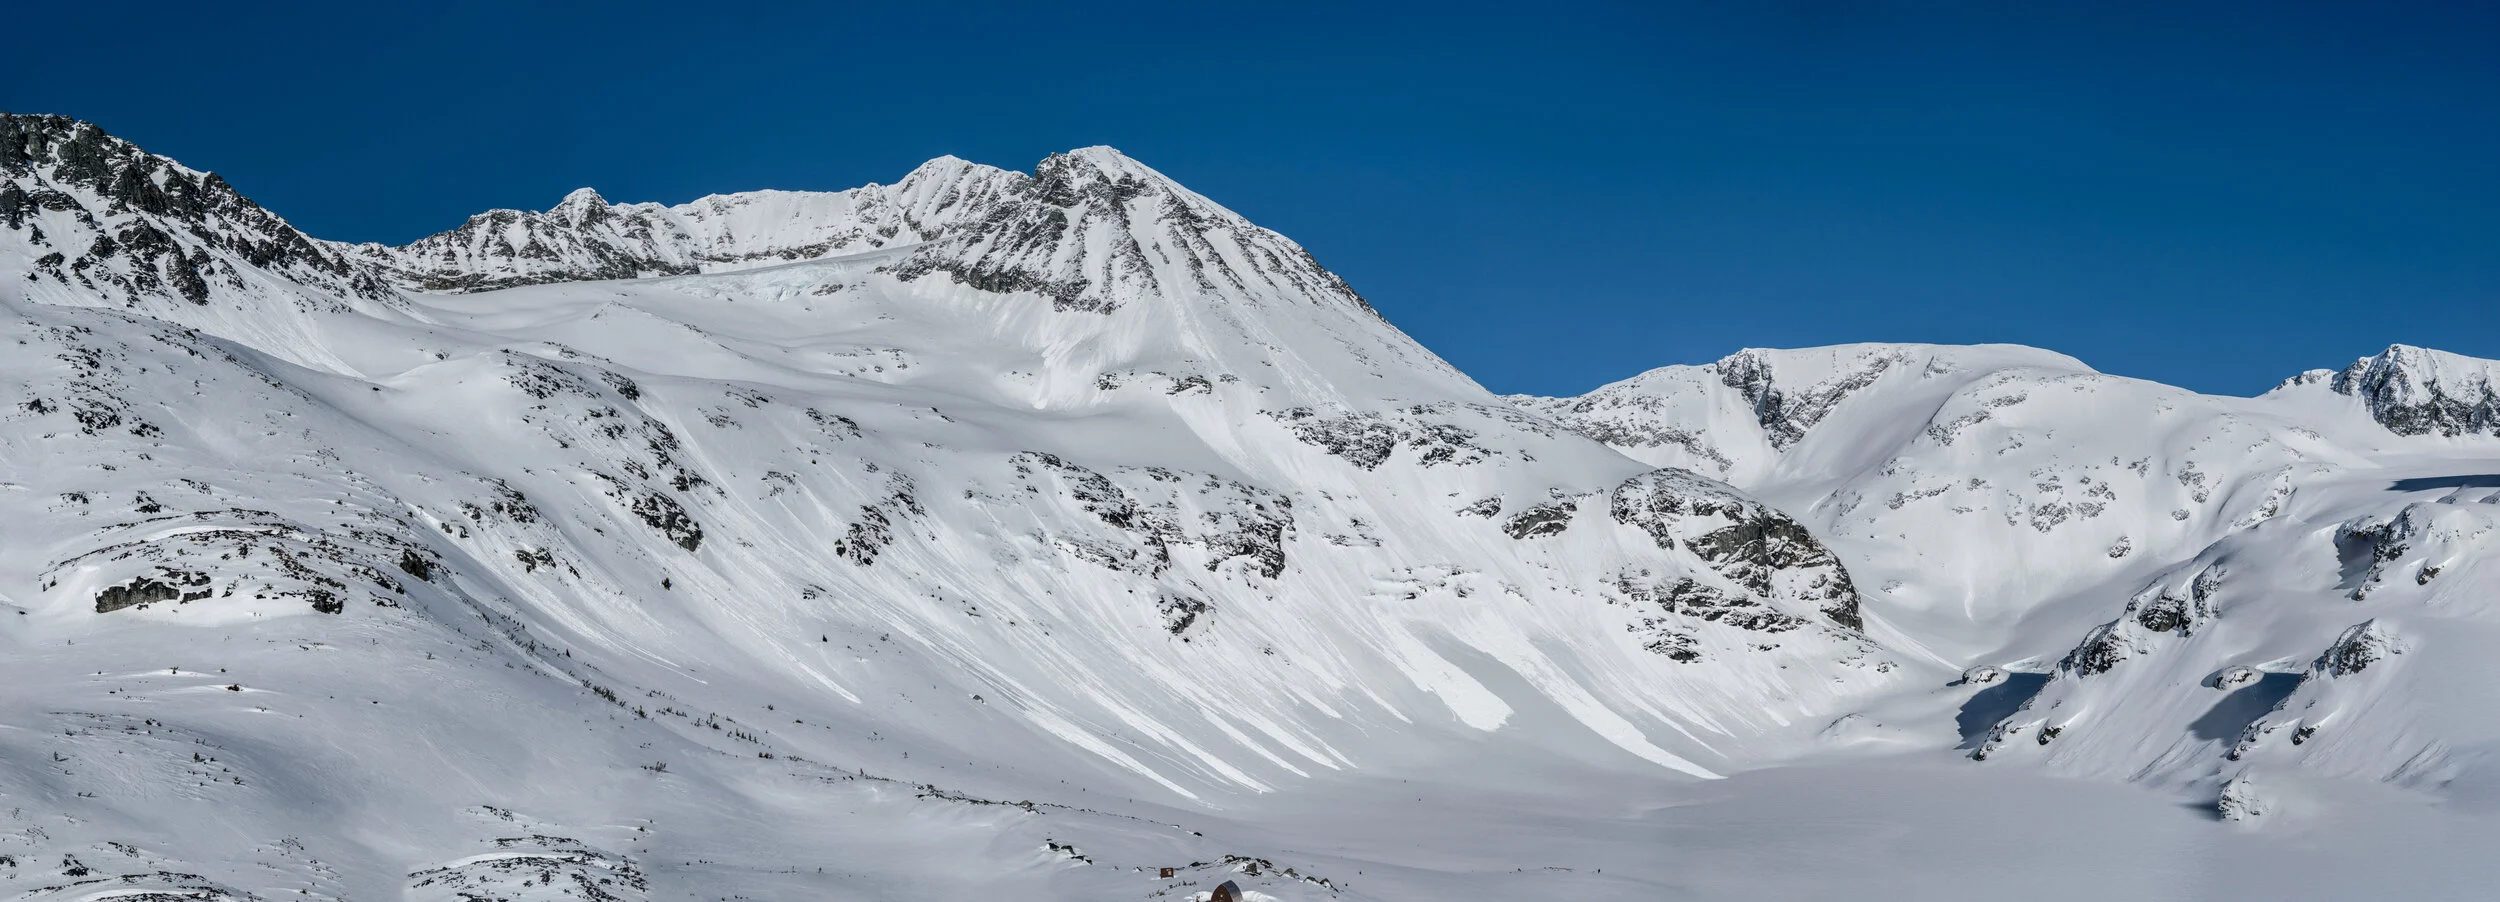
Numerous avalanches around Wedgemount Lake during spring a few years ago. I should probably not have been there.
I don’t personally have my AST 1 - Avalanche Safety Training (yet) but it’s certainly on my list: taking this course and buying the required equipment for backcountry travel is an investment, but your life is certainly worth it! Meanwhile, I do my best to educate myself with the free resources available online and most of all - I don’t take any risks!
While it will never replace a proper AST 1 course, having some basic understanding of winter environments will certainly help you to prepare your trips and enjoy them in a safe manner. Basic things like checking the weather and avalanches forecast only take a few minutes but can save your life.
Here is a list of how I usually prepare for my winter adventures - which mostly involve snowshoeing and winter camping. It doesn’t mean that you should stick to it, I highly encourage you to do your own research and adapt this based on your kind of activities!
Educate yourself
Check the local weather forecast - www.mountain-forecast.com
Check the avalanche forecast - www.avalanche.ca
Check the Sunrise and Sunset time
Check the terrain/trail/location
Make sure to take the essentials!
Leave a trip plan! - www.adventuresmart.ca
Know what to do in case of emergency: call 911!
Have fun!
Educate Yourself!
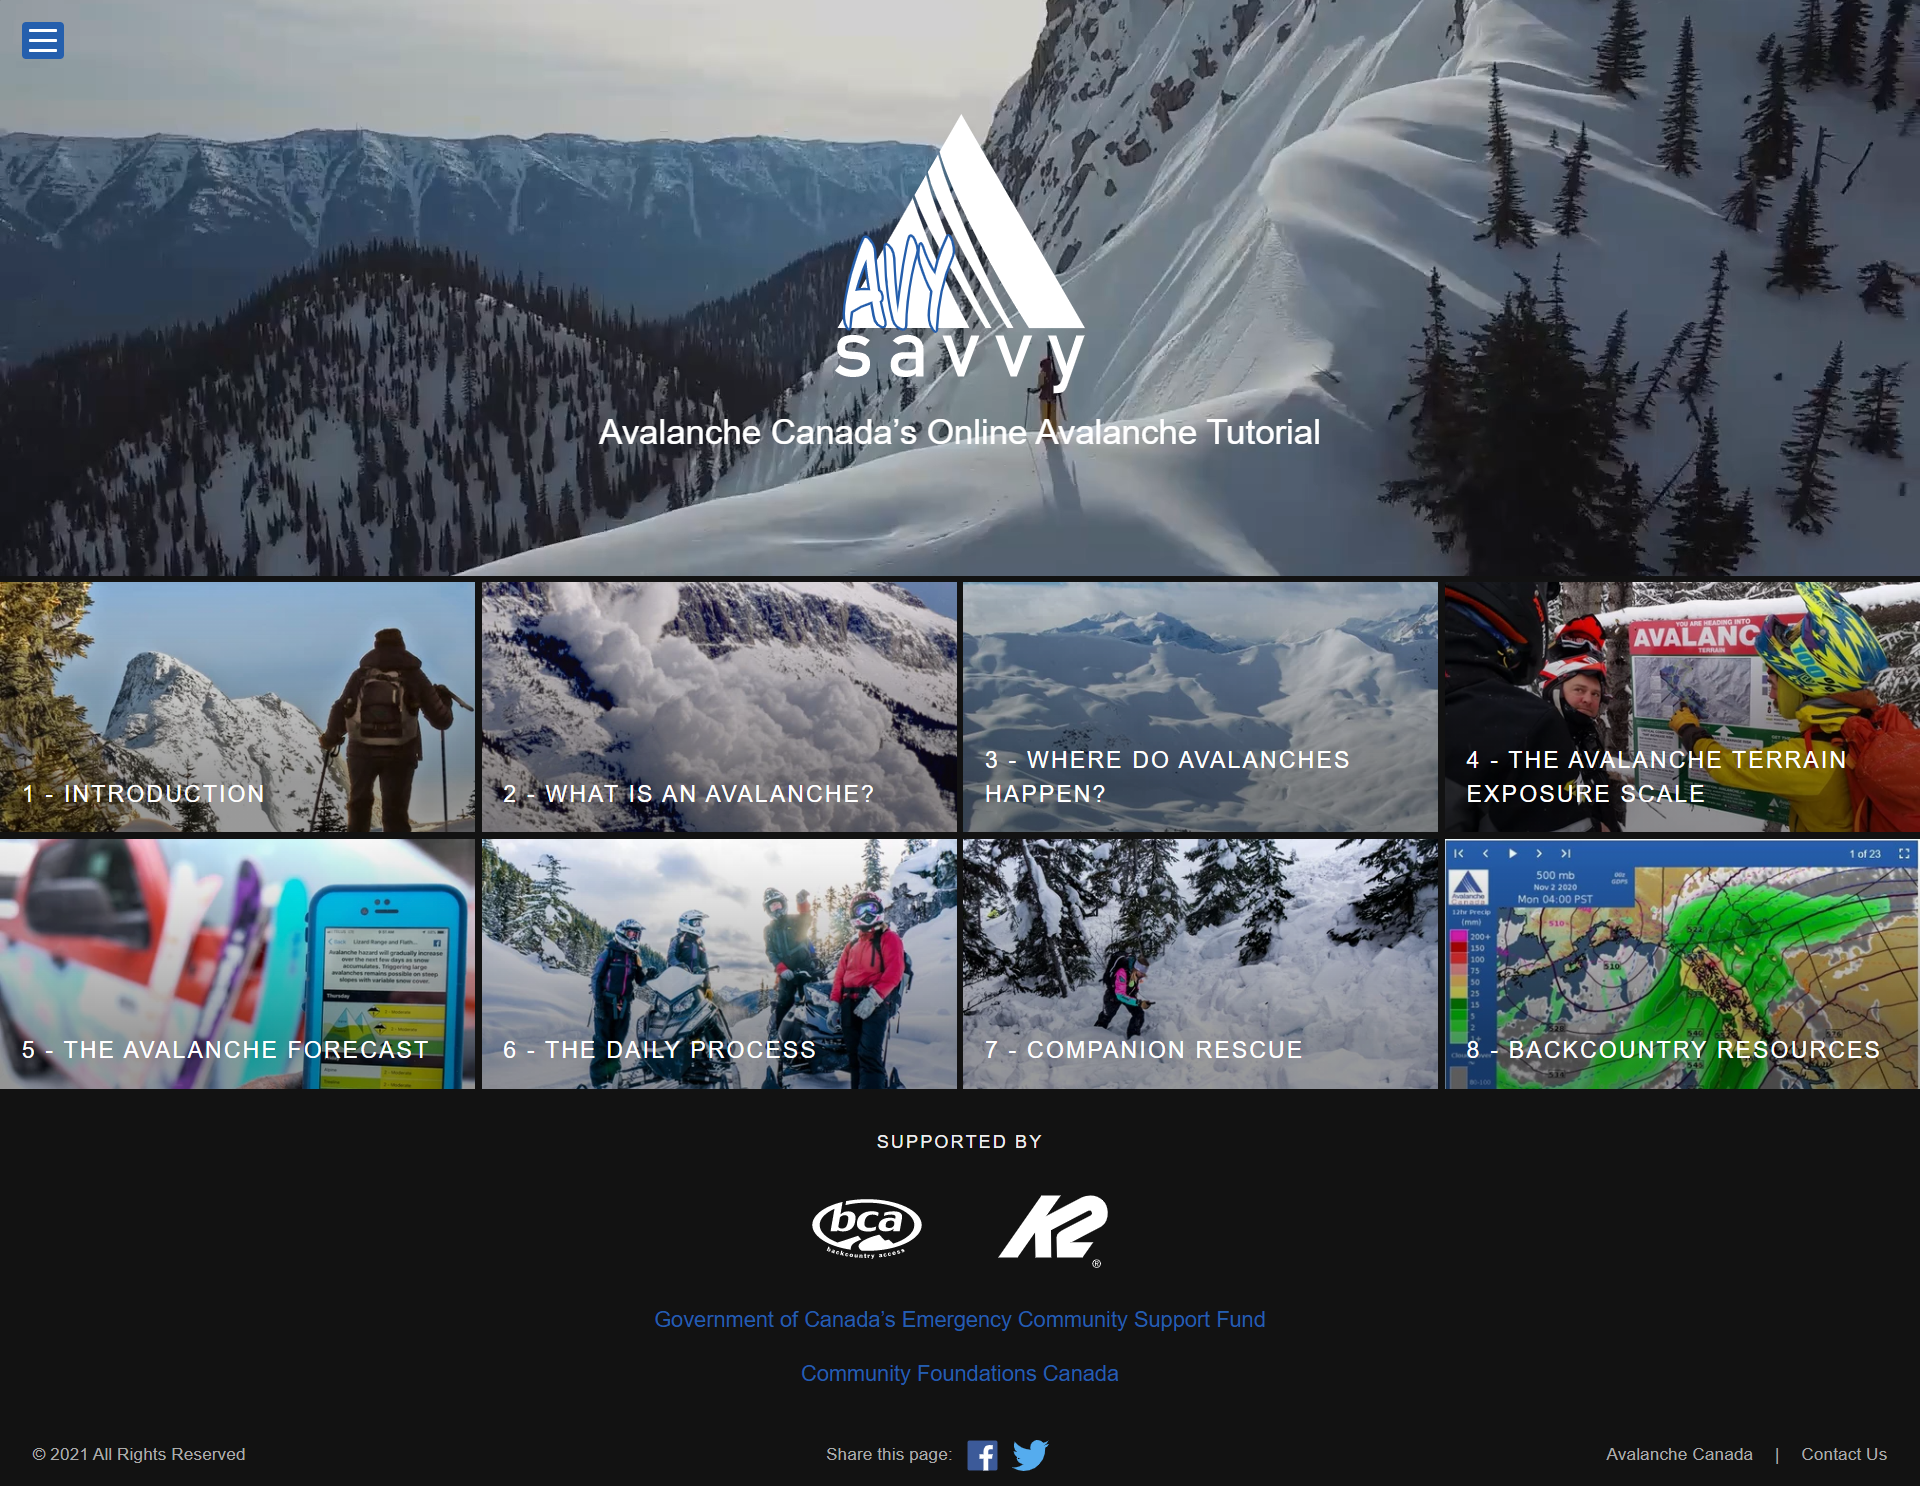
One of the best resources out there is the new Avy Savvy website from Avalanche Canada: it only takes a couple of hours to go through and it gives you really good information about what the avalanche risks actually are and some basic knowledge on how to avoid them.
They also have some interactive exercises to teach you how to prepare for your winter outings.
Check it out here: avysavvy.avalanche.ca
Consider taking an AST 1 course.
Also, make sure to subscribe to Avalanche Canada’s social networks, they have regular webinars full of great info and it’s also an extra source to know about current avy conditions!
If you haven’t already, have a look at the North Shore Rescue series!
The series is very specific to our local mountains here in Vancouver, It will give you a better idea of what dangers are out there and show you how quickly things can escalate when you are not prepared...
The 5th episode is dedicated to winter rescues and avalanches.
Check the local weather forecast - www.mountain-forecast.com
Should you prepare for a snowstorm, for rain, for Sun (you can very easily get sunburnt in the winter! I learned it the hard way).
I personally like to use the mountain-forecast.com website that gives you the forecast for specific mountains at different elevations.
Check the avalanche forecast - www.avalanche.ca
If you go into the mountains, you have to be aware of the current avalanche risks…
Even if you are only going to one of the local resorts such as Cypress or Mt Seymour, the trails are crossing several avalanche areas!
Learn how to read the avy forecast by visiting the AvySavvy website.
Check the Sunrise and Sunset time
You can easily find this information on Google. It’s also available on most weather forecast website/app, including on mountain-forecast above.
Keep in mind that the sunlight will disappear earlier when you are in the mountains, so make sure to have a headlamp (you should always have one) and give yourself some extra time to come back down before dark.
So many times have I seen people going up a trail 30min before sunset, with no backpack and no headlamp… or going down in the dark completely frozen and lost. If you happen to see some of them, a simple “Hi guys, do you have a headlamp? Be careful out there” to educate and check on them will never hurt!
Who wouldn’t want to witness a sunset from Cypress?!
If you are purposely looking for the sunset hour and the beautiful view, it’s totally fine, but make sure you know how to go down safely when it gets dark!
Check the terrain/trail/location
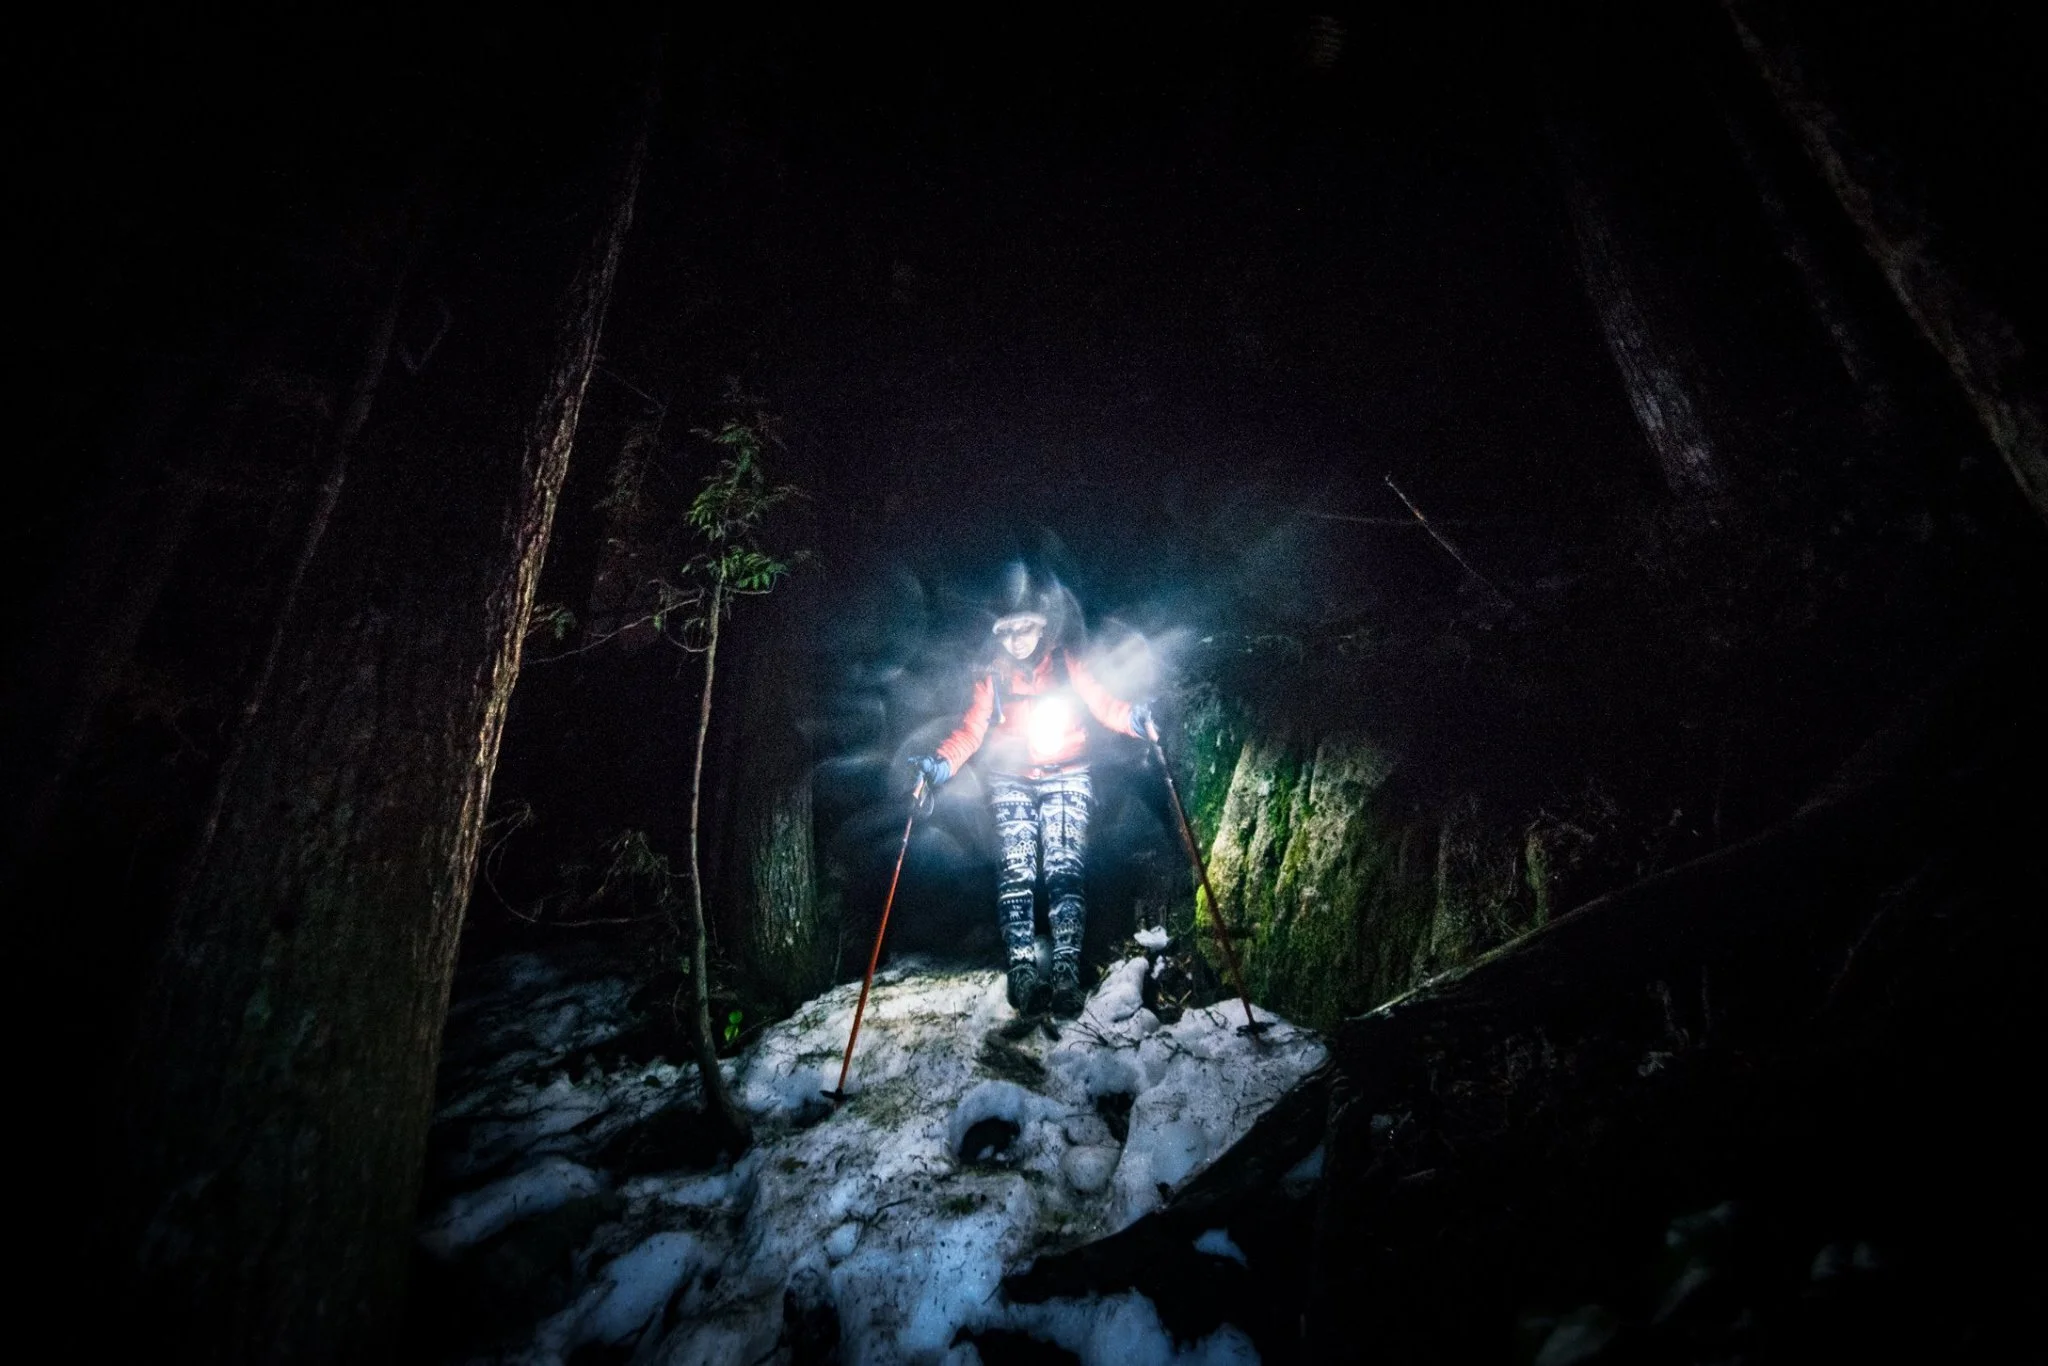
Going down an icy trail at night is not fun for anybody. Make sure you are prepared and avoid it as much as you can.
Look at maps beforehand and understand what kind of terrain you are about to travel to. What kind of elevation should you expect? How deep the snowpack is? Do you need snowshoes or microspikes? Learn how to read a map and check the current trail conditions: there is plenty of Facebook groups for this.
As a general rule, I would never go on a trail at night if I have never done it during the daylight. As good as you are, travelling in the mountain at night is a very tricky thing to do - even more in winter - so make sure you already know the trail and always carry a headlamp!
If you don’t know what you are doing and just want a nice family outing, there is plenty of safe alternative in the local mountain resorts: both Cypress, Grouse and Seymour have well-maintained and safe snowshoe trails - usually accessible with a fee and pre-booking.
Also, check at what time the parking lot or gondola closes, otherwise, you can end up being stuck for the night!
Make sure to take the essentials!
You should do your research depending on your activity, but these are the most common 10 essentials you should always carry, all year long and no matter how long your outing will be.
You usually want to make sure you can spend the night outside safely if something bad happens.
Light
Flashlight or a headlamp with extra batteries (and light bulb if not LED). Green Cyalume stick or small turtle lights as an emergency backup.
Signalling Device
Whistle (we recommend the Fox 40 whistle with a lanyard), Bear Bangers, Pencil Flare
Fire Starter
Matches (waterproof or in a plastic bag) or lighter. We also recommend a commercial firestarter and/or a candle. Commercial firestarters can be purchased at outdoor stores like Mountain Equipment Coop.
Warm clothes
Hat or toque, gloves or mittens, puffy jacket, Gortex jacket, polypro underwear, good quality hiking socks and Gortex over pants.
Pocketknife
Although a multi-tool is preferred, a good pocket knife with a quality blade will suffice. It may also be worth carrying a small pruning saw for cutting branches when building a shelter or fire.
Shelter
Large orange plastic bag and a thermal tarp.
Water and food
Gatorade crystals recommended and high energy food bars
First-aid kit
Should include pocket mask; Sam Splint, bulk dressings, protective gloves, bandage, scissors and blister dressings
Navigation
Good quality compass with built-in declination adjustment and both topographical and interpretive maps. we also recommend a GPS unit but only as an adjunct to a compass and map. Most team members carry a Garmin 60 series GPS unit that has terrific reception in the trees.
Communications – Cell phone
We recommend you bring a cell phone with a fully charged battery. It is advisable to keep the phone turned off, and stored in a ziplock bag. This way, if you get into trouble your phone will be dry and have a full charge. Many people manage to call 911 initially but their phone dies before their location can be relayed, not a desirable situation. If you have a smartphone, you should also know how to get GPS coordinates off of it to give to search and rescue if you become lost or injured (eg. MotionX or iPhone compass app). Depending on the terrain and difficulty of your excursion, it may also be worth considering satellite-based communications devices like the Spot, Delorme InReach or a Personal Locator Beacon.
List copied from the North Shore Rescue website
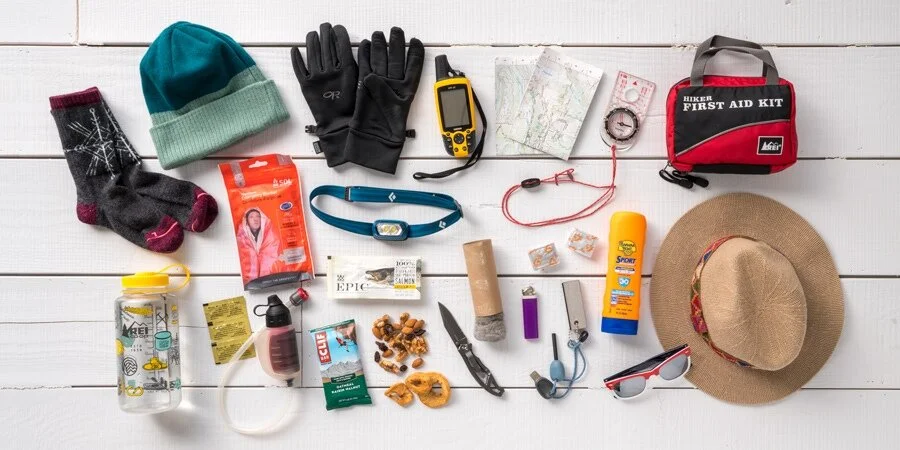
Also, make sure to know how to use all of your essentials. There is plenty of resources on the internet about what to bring for different activities, so make sure to do your research!
Leave a trip plan! - www.adventuresmart.ca
Once you are ready to get out there, it’s time to leave a trip plan: Let somebody know where you are going, for how long, and when you expect to come back. This person can be someone from your family, a friend, or a colleague, … but try to find someone local. In case of emergency, this person might be your only help if you get lost or injured: if you are not back in time they can call 911 for you and provide them with priceless information about your trip.
An easy way to do that is to use the BC Adventure Smart app.
Make sure to also check out their website and social network accounts as they have an incredible amount of great information about how to prepare a safe adventure! They also do regular webinars.
Know what to do in case of emergency: call 911!

Incidents can happen for a lot of reasons. As well prepared you can be, there is always a risk to injure yourself or get lost. Knowing how to call for help might be your only chance to get out of there.
This one is actually quite simple, if anything happens, CALL 911!
Even if you don’t have cell reception with your cellphone provider, there is a good chance you can still call 911!
Don’t call a friend or family number! Call 911. If you are in danger, every minute counts. Don’t take the risk to kill your phone battery and call 911 directly, they are the only ones who know how to react efficiently.
Don’t call North Shore Rescue or your Mountain Resort. Call 911. They have a rescue workflow in place so let them help you and call 911.
If you happen to have a satellite phone or an InReach/Spot you should have a dedicated SOS button to do that. I suppose that if you have one of these, you already know what to do and how to react.
HAVE FUN!
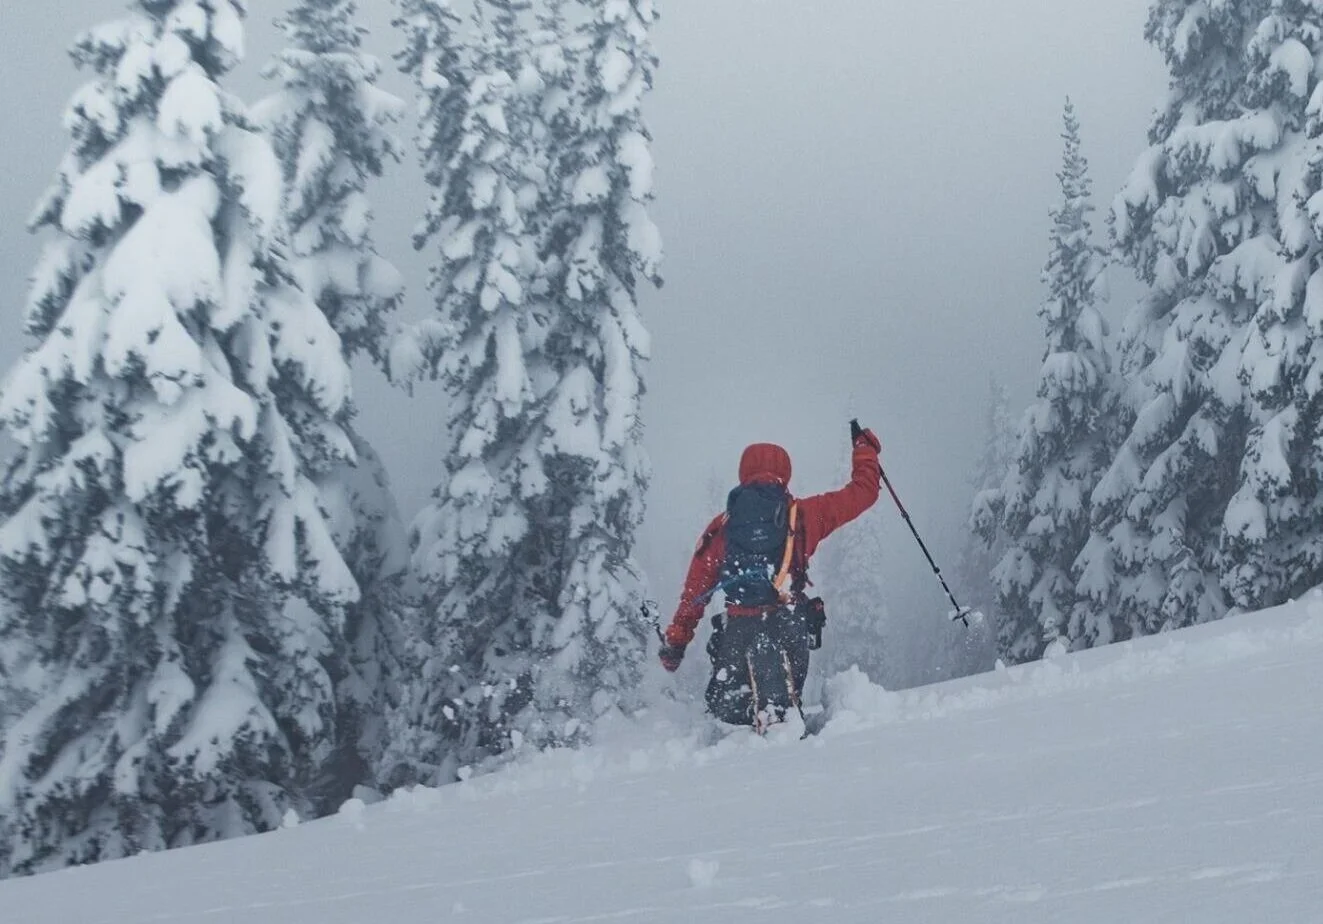
All this can certainly feel overwhelming at first, but it will allow you to fully enjoy your adventure! If you feel ready, it’s time to go out there!
There is obviously a lot of extra knowledge and skills to have to safely manage a winter outing, but I sincerely hope that this list and resources will help you to better prepare for your next adventure, and most of all keep you safe out there!
If I forgot something important, or if you know of other great resources, make sure to leave a comment below or send me a private email! Thank you!